

As a supplier of Cable Splice Kits, ensuring the proper alignment of cables when using our products is a crucial aspect that I often emphasize to our customers. In this blog, I will share some in - depth knowledge and practical tips on how to achieve the correct cable alignment during the splicing process.
Understanding the Basics of Cable Alignment
Before we dive into the alignment process, it's essential to understand why proper cable alignment matters. When cables are not aligned correctly, it can lead to signal loss, increased attenuation, and even complete signal failure. This is particularly critical in applications such as telecommunications, data centers, and industrial automation, where reliable signal transmission is vital.
The Cable Splice Kit we offer is designed to simplify the splicing process and ensure optimal cable alignment. It typically includes all the necessary components such as splicing sleeves, adhesive, and alignment tools. Each component plays a specific role in the alignment and splicing process.
Pre - installation Preparation
The first step in ensuring proper cable alignment is thorough pre - installation preparation. This involves several key tasks:
Cable Inspection
Before using the Cable Splice Kit, carefully inspect the cables to be spliced. Look for any signs of damage, such as cuts, abrasions, or kinks. Damaged cables can significantly affect the alignment and splicing process, so it's important to replace them if necessary.

Measuring and Cutting
Accurately measure and cut the cables to the appropriate length. This ensures that there is enough cable for the splicing process without excessive slack, which can make alignment more difficult. Use high - quality cable cutters to ensure clean and precise cuts.
Stripping the Cable
Strip the outer jacket and insulation of the cables according to the instructions provided in the Cable Splice Kit. This exposes the inner conductors, which need to be aligned and spliced. Be careful not to damage the inner conductors during the stripping process.
Alignment Tools and Techniques
Our Cable Splice Kit comes with a variety of alignment tools, and understanding how to use them effectively is crucial for proper cable alignment.
Fiber Optic Cables
For fiber optic cables, the alignment is extremely precise. We often use a fusion splicer, which is included in our advanced Cable Splice Kits. The fusion splicer uses an electric arc to melt the fiber ends and fuse them together. Before the fusion process, the fibers need to be precisely aligned using a V - groove or a mechanical alignment system within the splicer.
The V - groove alignment system holds the fibers in place, allowing for a high - degree of accuracy. The operator can visually inspect the alignment through a microscope built into the splicer. Once the fibers are aligned, the fusion process can be initiated.
Copper Cables
When splicing copper cables, alignment is also important to ensure low resistance and good electrical conductivity. Our Cable Splice Kit provides crimping tools and splice connectors. To align the copper conductors, first, insert them into the splice connector according to the color - coding or marking on the connector. Then, use the crimping tool to secure the connection. Make sure that the conductors are fully inserted into the connector and that the crimp is tight and uniform.
Environmental Considerations
The environment in which the cable splicing is performed can also affect the alignment process.

Temperature and Humidity
Extreme temperatures and high humidity can impact the performance of the splicing materials and the alignment of the cables. For example, in cold temperatures, the adhesive in the splicing sleeve may not cure properly, leading to a weak joint. In high - humidity environments, moisture can get trapped inside the splice, causing corrosion and signal degradation.
It's best to perform cable splicing in a controlled environment with a temperature range of 20 - 25°C and a relative humidity of 40 - 60%. If this is not possible, take appropriate measures such as using moisture - resistant splicing materials and heating the splicing area to the recommended temperature.
Dust and Debris
Dust and debris can also interfere with the cable alignment process. Even a small particle of dust on the fiber end face can cause significant signal loss. Before splicing, clean the cable ends thoroughly using lint - free wipes and a suitable cleaning solution. In a dusty environment, consider using a clean - room tent or a portable air filter to minimize the presence of dust.
Quality Control During and After Splicing
Quality control is an ongoing process during and after the cable splicing.
In - process Inspection
During the splicing process, regularly inspect the alignment of the cables. For fiber optic cables, use the built - in microscope of the fusion splicer to check the alignment before initiating the fusion process. For copper cables, visually inspect the insertion of the conductors into the splice connector and the quality of the crimp.
Post - splicing Testing
After the splicing is complete, perform thorough testing to ensure the proper alignment and functionality of the spliced cables. For fiber optic cables, use an optical time - domain reflectometer (OTDR) to measure the attenuation and detect any potential splice faults. For copper cables, use a cable tester to check the electrical continuity, resistance, and capacitance.
Choosing the Right Splice Box
In addition to using a high - quality Cable Splice Kit, choosing the right splice box is also important for maintaining cable alignment.
Optical Cable Connector Box
For fiber optic cables, an optical cable connector box provides a protective enclosure for the spliced fibers. It helps to keep the fibers organized and protected from environmental factors. The box is designed with specific features to ensure proper cable routing and alignment. It usually has fiber management trays and strain relief mechanisms to prevent the fibers from being bent or pulled during installation and operation.
Metal Joint Box
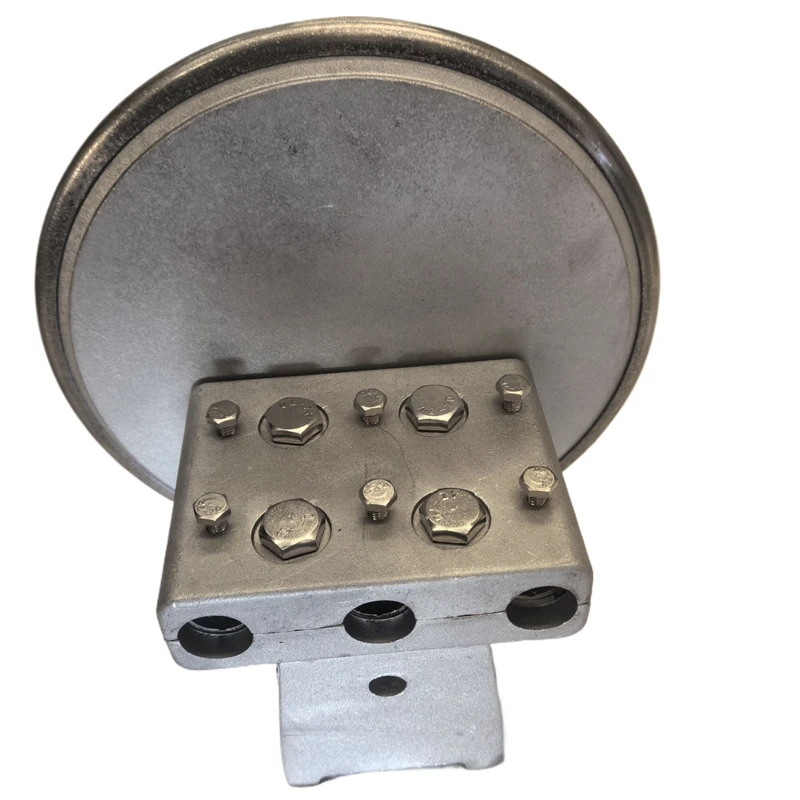
For copper cables, a metal joint box offers robust protection. It can shield the spliced cables from mechanical damage, electromagnetic interference, and environmental hazards. The metal construction provides a high level of durability, and the box is designed to allow for easy access to the splices for maintenance and inspection.
Conclusion
Ensuring the proper alignment of cables when using a Cable Splice Kit is a multi - step process that requires careful preparation, the use of appropriate tools and techniques, consideration of environmental factors, and strict quality control. As a supplier, we are committed to providing high - quality Cable Splice Kits, along with detailed instructions and support to help our customers achieve optimal cable alignment.
If you are interested in our Cable Splice Kits, Optical Cable Connector Boxes, or Metal Joint Boxes, and would like to discuss your specific requirements, we encourage you to reach out to us for procurement and further discussion. We look forward to partnering with you to meet your cable splicing needs.
References
- "Fiber Optic Splicing Handbook" by Optics Publishing Group
- "Copper Cable Installation and Testing Guide" by the Telecommunications Industry Association
- Product manuals of our Cable Splice Kits, Optical Cable Connector Boxes, and Metal Joint Boxes